Sunday, 28 May 2017

Brown Smokey Eye

I've never tried doing a brown smokey eye but I fell in love with how it looked and not being dramatic as a black smokey eye. This look is perfect for a night-out or even drinks with your girlfriends. I feel like you can even get away with this during the day as it's not as harsh as using black which would be too heavy for the daytime. For this look the brown eye shadow is from the Makeup Revolution Ultra Eye Contour Light and Shade palette which is super affordable for everyone. For the base I used the L'Oreal Paris True Match Foundation in Golden Amber and my all time favourite Maybelline Eraser Eye Concealer. I decided to 'bake' under my eyes and under my cheekbones to make sure it doesn't crease using the Laura Mercier Secret Brightening Powder.
For the eyebrows I used Anastasia Beverly Hills Dipbrow Pomade, Maybelline Master Ink Eyeliner for the winged liner and for lashes Kiko Unmeasurable Length Mascara. I used the Hoola Matte Bronzer by Benefit for bronzing and for blush Peaches by MAC as I wanted something warm-toned. For highlight I used MAC soft and gentle and set this all using Makeup Revolution Pro Fix Spray.
I lined my lips using Spice lip-liner by MAC and used Velvet Teddy also by MAC which is the perfect nude shade for similar skin tones to mine.
If you re-create this look, don't forget to follow me on social media so I can see them! x


SHARE:

Wednesday, 8 February 2017

I'm in love with the co-co!


Coconut oil has been a staple beauty product of mine for over 2 years and let me tell you girl, there isn’t one thing that this product can’t do. It’s an all in one holy grail product!

There are a lot of coconut oil brands out in the market at the moment, but make sure to pick raw organic count oil as this is not processed.


I’m going to be sharing some of my tips on how I use coconut oil which can change your beauty regime (you’ll never go back)!!!

It’s a natural skin moisturiser 
Coconut oil can be used on the skin as a natural moisturiser! just rub the solid coconut oil (it’s usually solid at room temperature) and work it in between the palm of your hands. This will warm up the product which you can then apply as a liquid onto your skin. It absorbs quickly and is non-greasy! if you have super dry skin in the winter, you can wash your face at night, pat it dry and work a pea size amount onto your face. Wear this as a mask for 5- 10 mins and wipe off any excess! your skin will feel as smooth as a baby’s butt! Try this, I promise you that you will never go back to your old moisturiser.


Wrinkle Reducer 
Coconut oil can also be applied around the eye area to reduce wrinkles. Just dab a small amount around your eyes before bed to help fight pre-maturing raging. Then just was up the next day and rinse off and carry on with your normal morning routine!  


Natural Makeup Remover 
Work a small amount in your fingers and apply all over your face to remove any makeup/dirt! this works wonders, it even works on my waterproof mascara! work in circular motions and this is great for sensitive eyes as this will not sting or irritate! Wash off with warm water or use a warm flannel. It’s as easy as 1,2,3!


Homemade Toothpaste 
Mix equal parts of coconut oil with tumeric powder to get an at home whitening paste! Tumeric may seem intimidating but I promise you it won't stain your teeth! make sure to use an old toothbrush and brush your teeth normally with the oil and turmeric mixture! do this once a week!
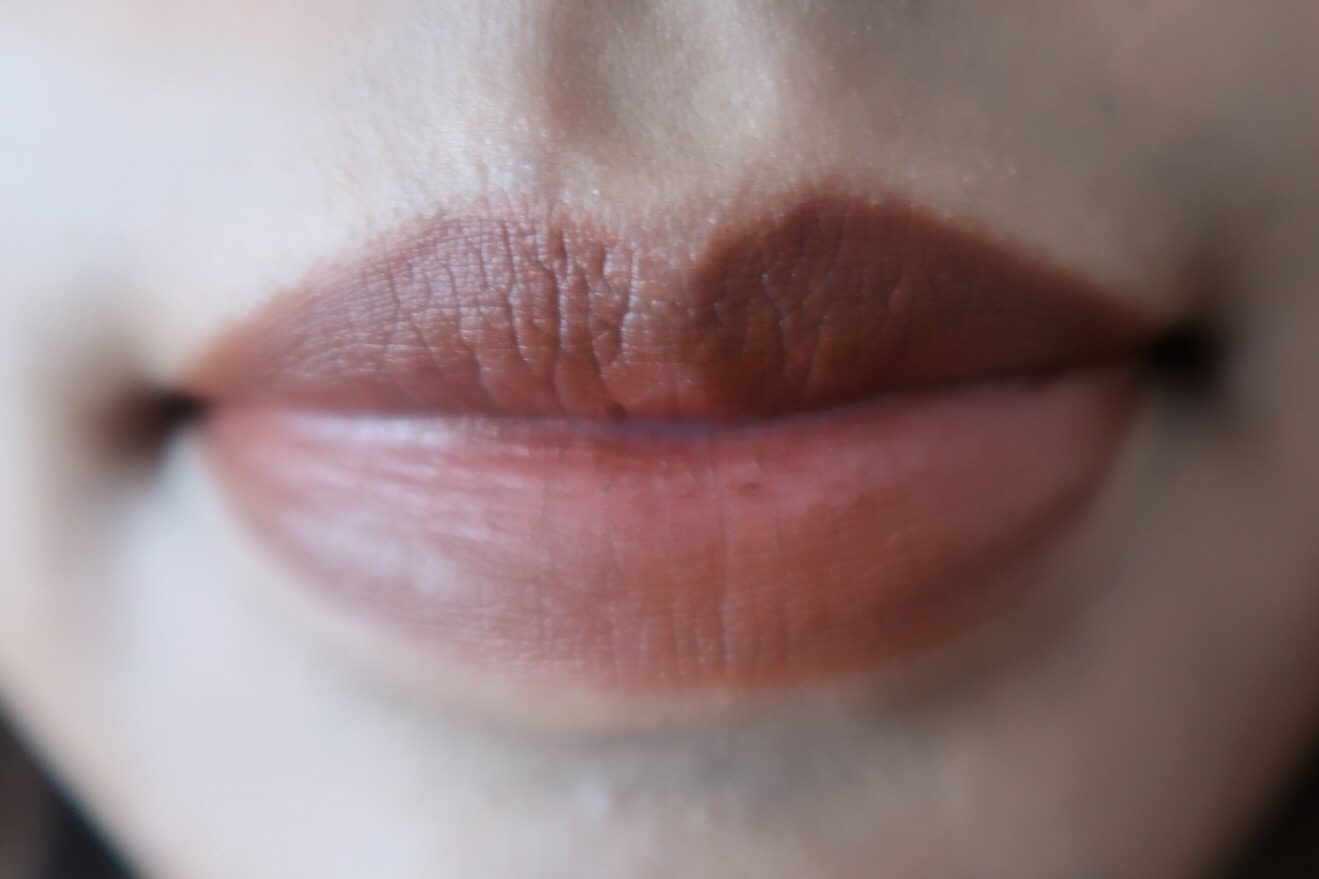

Lip Balm
I suffer from majorly dry chapped lips in the cold! coconut oil has changed the game, just apply this like you would as a lip balm, it is super moisturising, provides a hint of sun protection and most importantly doesn’t have any chemicals (safe to consume). l love to mix coconut oil with different food flavouring like vanilla, peppermint, strawberry and you can make yourself a little pot at home! just add a 3-4 drops of your flavouring into 2 tablespoons of coconut oil! ta-daaaa! Instant super-moisturing awesome lip balm made by you!


Naturally Tinted Lip Gloss or Lipstick 
You can naturally tint the lip balm recipe above by adding a pink, red or any colour of your choice eyeshadow! just scrape some of your eyeshadow or pigment into the coconut oil, mix and you can make your own customised lipstick! The more parts of coconut oil you use to eyeshadow will dilute the colour! If you want a more intense colour make sure you use less coconut oil! 


Natural Mouthwash 
Swirl some coconut oil in your mouth for around 1 minute as this contains antibiotic properties of coconut oil destroy the bacteria that causes tooth decay, improve the health of your teeth and gums. Swish 1 tablespoon of coconut oil immediately after rising in the morning. Spend 10 minutes swishing and spit the oil out! 


Natural Hair Mask
This mask is one of my favourites! Coconut oil is brilliant to moisturise and strengthen hair. Depending on the length and texture of your hair, you may need anywhere from 2 teaspoon to 4 tablespoons of coconut oil.  I like to use 3 tablespoons and warm it up in the palm of my hands! Work this into the lengths of the hair and also massage it into my scalp to help blood flow and prevent hair loss! I keep the make on for aorund 30 mins-1 hour, then wash out with your favourite shampoo and conditioner like normal (yes, i will upload a haircare post sooon)!! Your hair will look and feel so heathy!


Hope you can take on board some of my tips and hope it helps <3


SHARE:

Thursday, 2 February 2017

Easy Black Smokey Eye

Hello Guys! Hope you all are doing well. Today I have a easy black smokey eye look that I've created when I found inspiration on Instagram. I am one of those girls who want a quick makeup look but still look like you spent about 4 hours on it. I was so afraid of doing a black smokey eye before I tried this out and now I am in love with it!! It is a great look to wear whether you're going out with your girls or going on a date. You can pair this look with a super smoking hot dress or jazz up a pair of ripped jeans and top by going for this intense eye look!
 
 
I first started off by ensuring I had a super moisturised base with my Simple Face cream and I also used my Superdrug Vitamin E eye cream under my eyes as they were super dry this day. I then went ahead and applied my absolute favourite primer by Charlotte Tilbury. This is her Wonderglow primer and this is hands down the best primer I have ever used! It just adds that 'lit from within' look. I also made sure I primed my eyelids using the Urban Decay primer potion.
 
Next I went ahead and applied my True Match foundation by L'Oreal in Golden Amber with my dampened beauty blender. This foundation gives me a full coverage and flawless base for this look. It is vital that your base is absolutely flawless for this sleek look.
 
I then applied my Age Rewind concealer by Maybelline under my eyes and blended it out with my beauty blender.I then went ahead and  applied the concealer onto my eyelids as well just because I have hyperpigmentation and wanted an even base before I got started on the eyeshadow.
 
I then took a warm brown shade from the REVOLUTION ultimate light and shade palette and started buffing it into my creaseline with my eco-tools eyeshadow brush. Once I did this on both eyes, I took a jet black gel eyeliner and applied this as the base for the black shadow. I made sure to concentrate it mainly on the lid and the secret to this look is to make sure you don't take it above the crease line (if you do then you will look like a panda and won't get a clean look). I then went ahead and picked up some black shadow from my Urban Decay Shadow Box in the colour Blackout. I applied this shade on top of the black eyeliner base. Taking some of my bronzer I used this as a transition shade to help blend the brown colour we applied at the start to the crease with the black shadow on the eyelid. THIS PART IS CRUCUIAL.
 
*The secret to any successful smokey eye look is blending so just blend, blend, blend away until you see a soft transition across your eye with all your colours. It should look like this:
 
 
You can see the intense black on the eyelid which is then diffused into the crease with the warm brown and bronze colour. You may have some fall out with the black shadow and may need to clean up the edges of the eye shadow to give a clean cut,  just take a clean makeup wipe to wipe any excess away. If you want to intensify the black, just keep adding the black eyeshadow until you are happy with it. Then it's time to add eyeliner and the one that I have been using for the past year religiously is the Maybelline Master ink liquid liner.
Now just do your winged eyeliner to what best suits your eye shape. I then added some of the gel black eyeliner onto my waterline to intensify the look. I then took my bronzer on a small blending brush and smudged the bottom liner to give a smokey effect.


I filled in my eyebrows with the Anastasia Beverly Hills Brow Promade in Dark Brown and on an angled eyeliner brush from eco tools. I then went back to my base where I then highlighted and contoured my face using the Sleek contour Kit in Medium and the Collection 2000 concealer. I set the concealer and highlighted parts with the Laura Mercier Secret Brightening Powder using my Beauty Blender again.

To add some colour back into my face, I used the Hoola bronzer by Benefit and added my Milani baked blush in Luminoso. This blush colour is a nice warm peachy colour which works well with this black smoky eye look as you want something that is subtle and blends in with your bronzer so that your eyes are doing all the talking. I then added my Clinique mascara to my top and bottom lashes and my Esqido Lashes in the style Unforgettable with the Esqido lash glue which just adds an extra touch of glam. 

 I wanted to add a peachy lip to compliment the peach blush we used, so I used my spice lip-liner (warm pinky nude colour) by MAC and Revlon matte lipstick in Smoked Peach.


No look is complete without highlighter so I added some MAC soft and gentle. I made sure that I wetted my highlighter brush with some revolution setting spray and then dipped it into the highlighter so that it gives a more intense application on the skin. I applied this on the tops of my cheekbones, inner corner of my eyes, brow bone and nose. I then spritzed the same setting spray all over my face to make sure it doesn't budge.


Face:

Eyes:


Lips:


 I hope you guys enjoyed this mini tutorial on this easy smokey eye look. You can get creative and use colours such as blue, brown etc.

SHARE:

Wednesday, 4 January 2017

Top 5 Favourite Lipsticks for Winter

During this time of year I love wearing darker lips and I find that you can get away with a darker colour during the winter months. I've chosen these five shown below based on their pigmentation, wear during the day and how comfortable they feel on the lips. I've also picked one shade which may not come under the darker berry category for those who may not be as confident in rocking a dark lip colour. All lipstick colours on the lips are without lip liners to show you guys its true colour and pigmentation. I hope you try these lipsticks out and discover why I love them!


From left to right: Mac Lipstick- Amorous, Charlotte Tilbury Matte Revolution Lipstick- Birkin Brown, Bourjois Rouge Edition Velvet Lipstick- Plum Plum Girl, Mac Lipstick-Rebel, MUA Matte Lipstick- Wild Berry.


This lipstick is an absolute bargain for just £1.00!! You may be thinking that it must have less pigmentation or wear during the day compared to a higher priced lipstick but you'll be proved wrong. I picked this lipstick (let's be honest for the price) but was pleasantly surprised by how pigmented it was for the price.
 
 
This lipstick is absolutely stunning with its unique velvet texture and wand stick makes it easier to get a precise coat on your lips. I love how this texture looks on the lips without it looking drying or uncomfortable. It is definitely lightweight and sometimes I even forget I'm wearing something on my lips which is a bonus. The price is £8.99 which is not cheap for a drugstore purchase but it is definitely worth it.
 
 
This lipstick is priced at £15.50 which more of a higher priced brand but with MAC being a worldwide known brand I was confident in buying this lipstick. The finish is a satin finish which I was glad about knowing how some MAC matte lipsticks can be over-drying. Also in the winter the satin finish will give some hydration to your lips. Even if this product is more higher priced, I would recommend this lipstick for its pigmentation and finish on the lips.
 
 
This luxury lipstick is priced at £23.00 (definitely a high end brand) and for the pigmentation and wear of the product I wouldn't say the money was worth it however this colour is unique and I've never come across a colour like this at the drugstore. The pro is that it wears well throughout the day with no touch-ups needed and is a matte lipstick which does not dry your lips out (hooray!). The classy gold packaging definitely gives it that higher brand feel so if you have the money then it's definitely worth the splurge.
 
 
This is another MAC lipstick priced at £15.50 and is another satin finish which is great for the winter months to keep your lips hydrated. It's not a colour you would consider a dark lip but for those who want to try a colour that is still considered a darker colour I would highly suggest to purchase this.
 
 
SHARE:
© DAVINA. All rights reserved.
Blogger Templates by pipdig